THE SHORT ANSWER
Match the panel’s electrical values and cable to the receiving station, then compare packed size, setup, and realistic charging opportunities. A physically compatible plug is not enough.
Read the station’s solar-input specification
Identify the exact station model and the input port you plan to use. Record its voltage range, maximum voltage, current limit, input-power limit, connector, and the manufacturer’s supported configurations.
Jackery’s guidance for third-party panels calls for checking panel voltage and current against the station’s input range. Apply the instructions for your actual unit rather than adopting a figure from another product. Manufacturer compatibility guidance.
Compare a specific panel and cable
Record panel open-circuit voltage, operating specifications, connector, polarity, and cable details. Check the manufacturer’s temperature guidance and permitted configurations. Resolve missing information before treating the panel as compatible.
When an offer includes several panels, identify how they are intended to connect and whether the required cable or connector is included. Do not assume every bundle image represents all the parts in the selected offer.
EXPLORE RELEVANT EQUIPMENT
Put your plan to work.
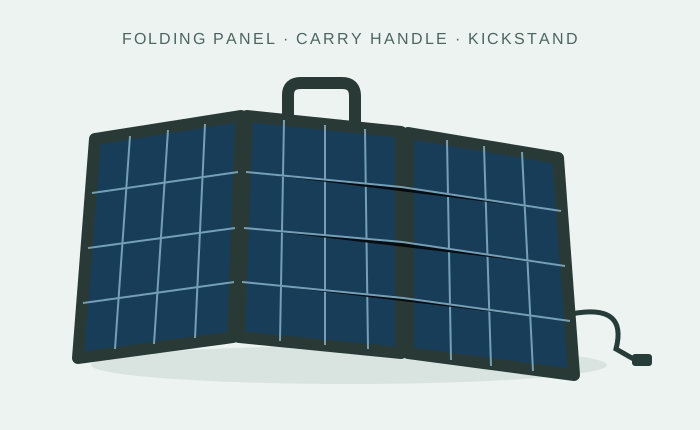
Portable solar panels
Explore category →
Portable power stations
Explore category →Solar kits
Explore category →Category illustrations, not tested product recommendations. Verified products and merchant offers will be added as the catalog develops.
Keep charging-power estimates honest
The station’s maximum solar input is a limit, not a promise of charging speed. The panel rating is also not a guarantee of power in your campsite. Orientation, shade, weather, temperature, and the receiving equipment affect the result.
For an illustrative calculation, 300 Wh replenished at an average 75 W reaching storage takes four hours. That is not the same as saying a 100 W panel always recharges that amount in four hours: the assumed average must be justified for the situation. Use observed charging data where available.
Choose for the way you travel
For walking trips, compare total carried weight, folded dimensions, and whether you can stop long enough to deploy the panel. For an RV, consider setup time, storage during travel, cable reach, and parking in shade while the panel sits in sun.
Think about theft exposure, wind, campsite space, and weather restrictions in the manual. A stand and a carrying handle can matter more in repeated use than a small difference in headline specifications. Check the weather limits for the power station separately from those of the panel.
One panel or several?
Several panels may offer placement flexibility, while one larger panel may simplify setup. The right comparison includes packed size, handling, cable requirements, and the supported electrical arrangement.
More rated panel power is useful only within the receiving equipment’s documented limits and permitted configuration. Do not exceed a voltage limit or improvise a combination in pursuit of a higher charging number. Ask the manufacturer to confirm an uncertain arrangement.
The purchase record worth keeping
Save the exact panel and station model numbers, manuals, required cable details, and the compatibility basis. Compare the complete bundle price and warranty responsibility. This is especially helpful when mixing brands or planning a later expansion.
For smaller device charging, see solar chargers. For a complete package, see solar generators. For the broader electrical check, use our compatibility guide.
Sources & further reading
Reviewed October 22, 2026. The examples are planning illustrations, not results from product testing. Manufacturer instructions apply to the specified equipment.