AZSP home / Solar library
Installing Old Solar Panels: Used Panel Checks & Costs
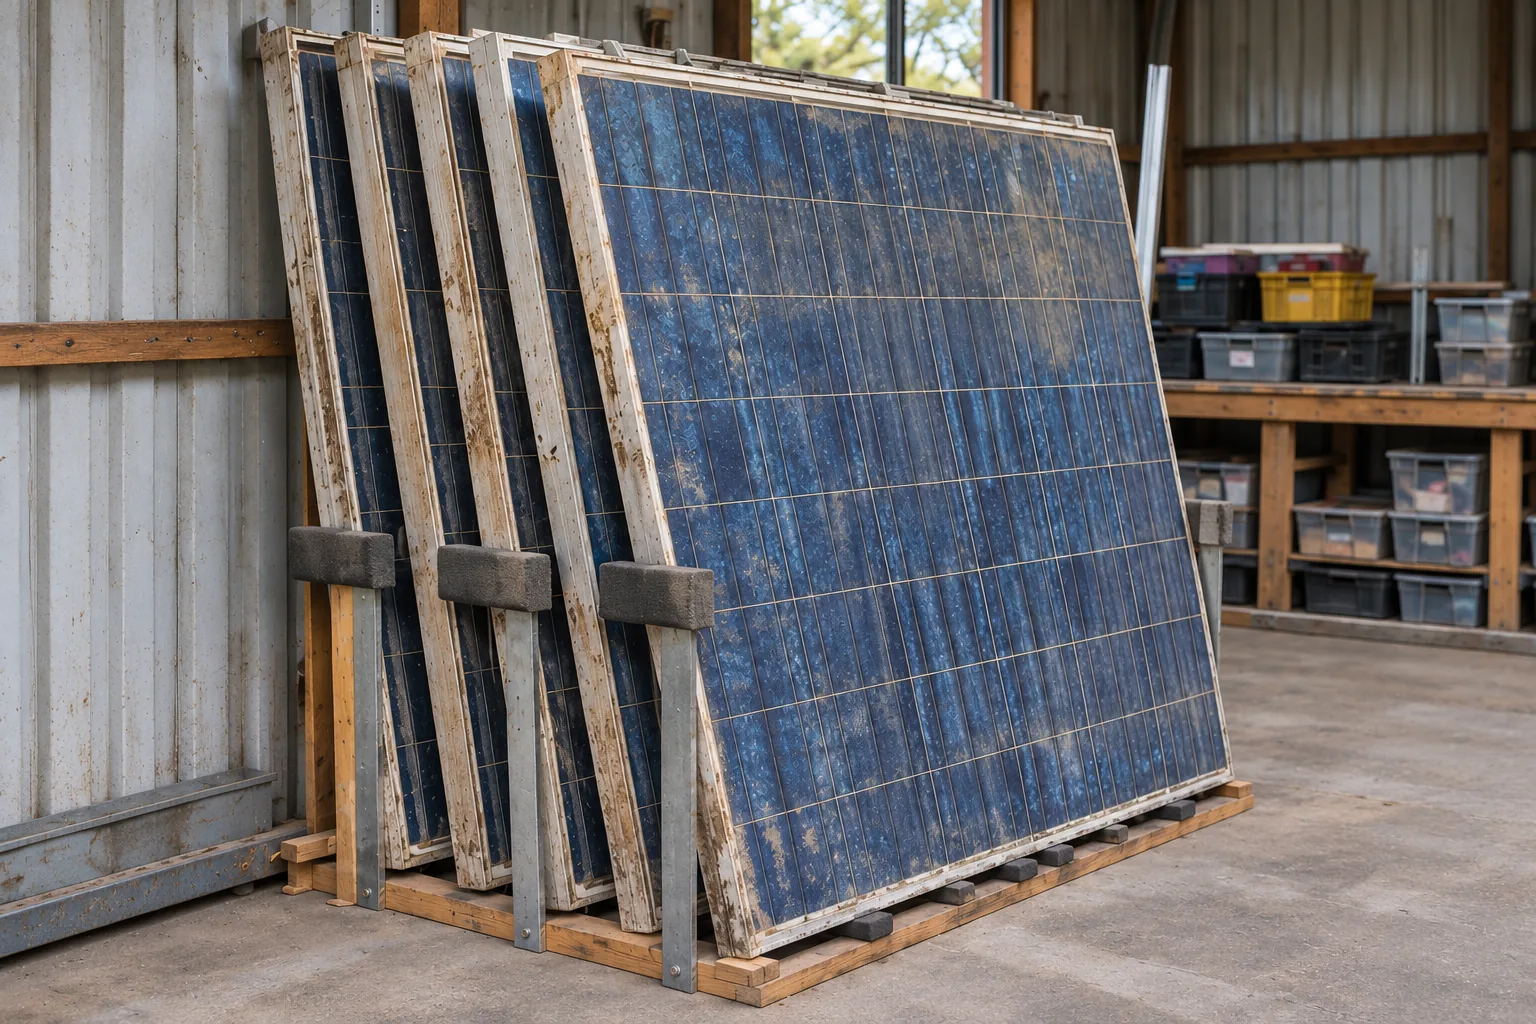
A low price can make used panels tempting. Before buying, find out whether the modules are sound, whether they suit your equipment and whether the complete installation makes financial sense.
This guide covers previously owned panels being installed again. For an existing rooftop system that needs replacement modules, ask the installer to review the original design and the proposed changes together.
Send the model numbers, photographs and test records to the installer before paying. Get written acceptance of the proposed equipment and a complete project estimate.
Do these checks before buying used panels
- Identify the exact modules. Obtain readable nameplate photographs, model and serial numbers, original specifications and the installation manual for that model. Ask for the installation year, removal reason and storage history.
- Ask what was tested. Request records that identify which modules were checked and the test conditions. Find out whether the seller tested every panel or a sample from the lot.
- Arrange a condition review. Have a qualified solar professional assess the modules before installation. DOE identifies physical and electrical inspection and testing as part of evaluating an aging PV system for refurbishment. DOE guidance on PV refurbishment.
- Confirm project acceptance. Ask the installer, local permitting authority and utility, where applicable, what documentation and approvals the proposed installation needs. Get answers before ordering a pallet of modules.
- Get the commercial terms in writing. Confirm return rights, responsibility for freight damage, any test guarantee and whether a manufacturer warranty actually transfers to you.
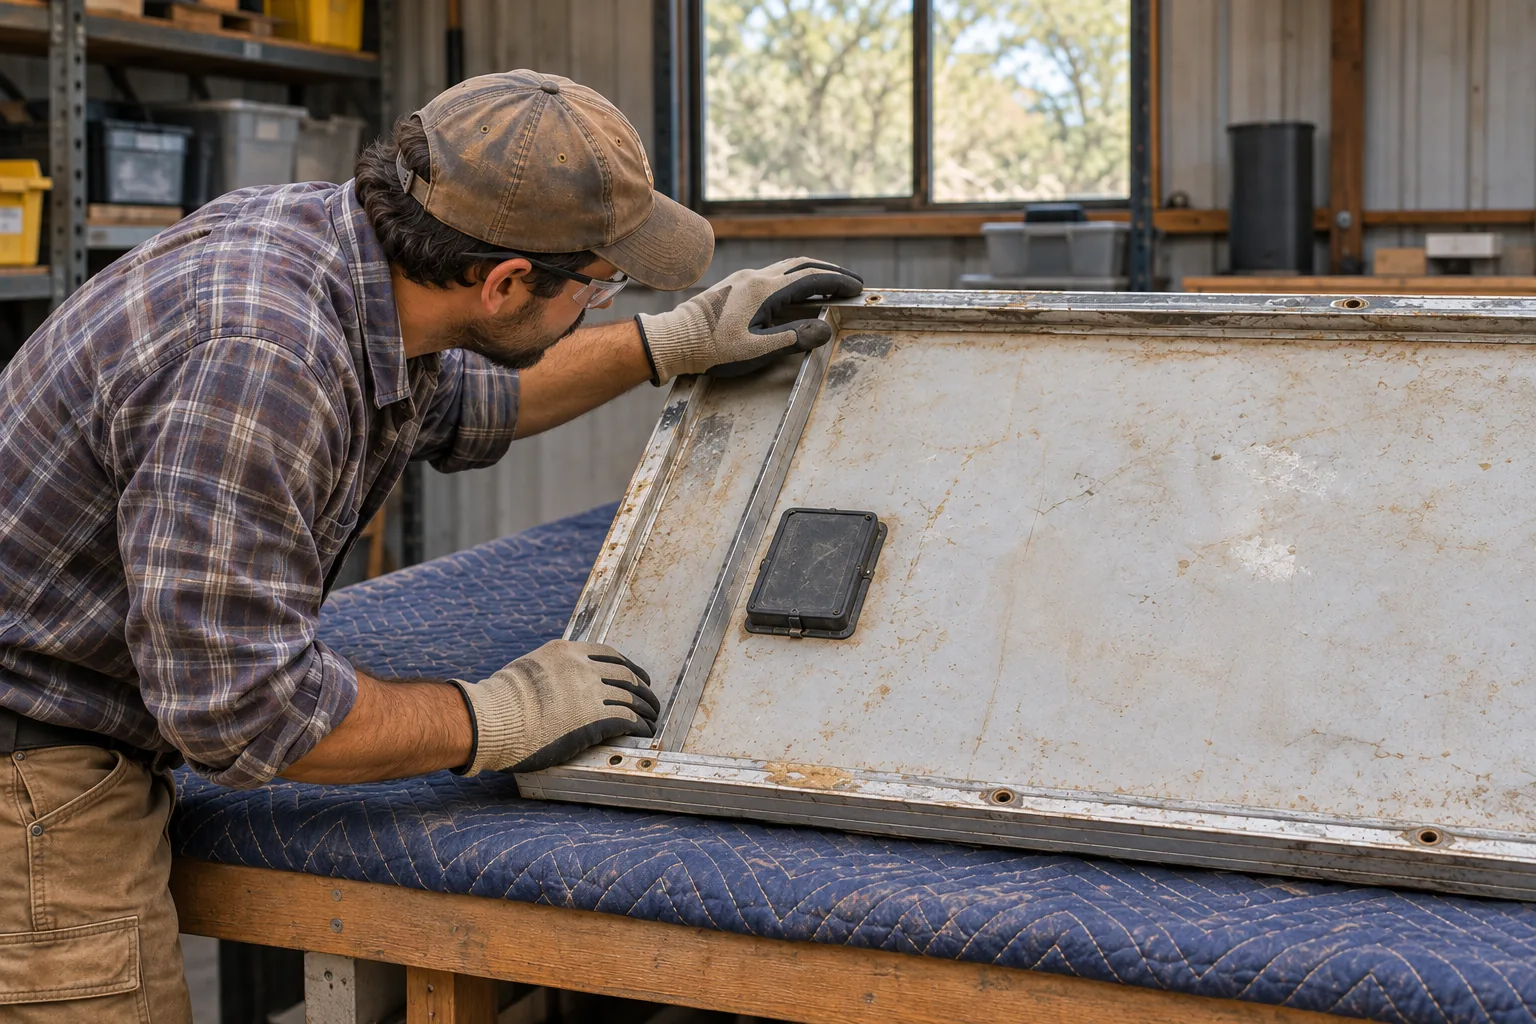
Do not use damage, low price or a voltage reading as a shortcut
- Do not install broken modules. Broken glass, exposed conductors and burn damage call for professional assessment and safe handling. Canadian Solar explicitly prohibits installing broken modules. Canadian Solar installation manual, safety section.
- Do not attempt a homemade module repair. Follow the manufacturer’s service instructions. Canadian Solar prohibits opening the junction box, disassembling its modules and attempting module repairs. Canadian Solar installation manual, safety section.
- Do not assume a disconnected panel is electrically inactive. PV modules produce electricity in light. The manufacturer warns against touching active parts and connecting or disconnecting modules while current is present. Electrical testing and installation belong with qualified personnel. Canadian Solar installation manual, safety section.
- Do not treat a voltage reading as a full test. Open-circuit voltage is measured without a load. It does not establish the panel’s maximum power or replace the physical and electrical checks needed for reuse. DOE guidance on inspection and testing.
- Do not assume off-grid use makes a damaged module acceptable. A shed, cabin or portable setup still needs suitable equipment and safe electrical connections.
Check compatibility before connecting anything
| Check | What needs to be established |
|---|---|
| Connectors | Identify the manufacturer and connector type. Stäubli warns against mating different connector brands. A seller’s “MC4-compatible” description does not establish an approved mating combination. Stäubli connector guidance. |
| Electrical limits | Have the designer check voltage and current against the inverter or charge controller limits, including the temperature correction required for the proposed site. The Canadian Solar manual notes that voltage and current can exceed standard test ratings under some conditions. Manufacturer electrical specifications and wiring guidance. |
| Mixed panels | Do not choose a string layout by wattage alone. Compare the models’ electrical characteristics and ask the designer how the proposed combination will perform. |
| Mounting | Check actual dimensions, frame condition, specified mounting arrangements and racking compatibility. Ask which existing hardware, if any, can be reused. |
| Portable power stations | Check the station manufacturer’s solar-input requirements and the complete panel arrangement. A plug adapter alone does not establish electrical compatibility. |
Use the manual for the exact model you are buying. The manufacturer documents linked here illustrate the checks and may cover different modules from yours. Read AZSP’s equipment compatibility guide.
Compare prices on the same basis
For a first look at the panel purchase price, divide each price by its original nameplate wattage. Keep current performance and condition as separate checks.
| Illustrative option | Panel price | Original nameplate rating | Price per nameplate watt |
|---|---|---|---|
| Used panel | $50 | 250 W | $50 ÷ 250 W = $0.20/W |
| New panel | $100 | 400 W | $100 ÷ 400 W = $0.25/W |
Those are example prices, not current offers. The used panel’s original 250 W label does not establish what it can produce today. A field reading taken under different sunlight or temperature also cannot be treated as a direct comparison with the new panel’s standardized rating. Canadian Solar states that nameplate electrical ratings use standard test conditions. Manufacturer explanation of standard test conditions.
Then compare complete projects
Consider a purely illustrative 2 kW nameplate array. Eight 250 W panels total 2,000 W and cost 8 × $50 = $400. Five 400 W panels also total 2,000 W and cost 5 × $100 = $500. The used-panel purchase is $100 less in this example, but it requires three more modules. It does not establish equal current output, equal roof area or equal installed cost.
Price delivery, inspection and testing, design, mounting, wiring, power electronics, installation, required approvals and likely replacement work. Ask for project quotes based on comparable energy goals and site constraints. Include warranties and any verified incentive eligibility when evaluating the offers.
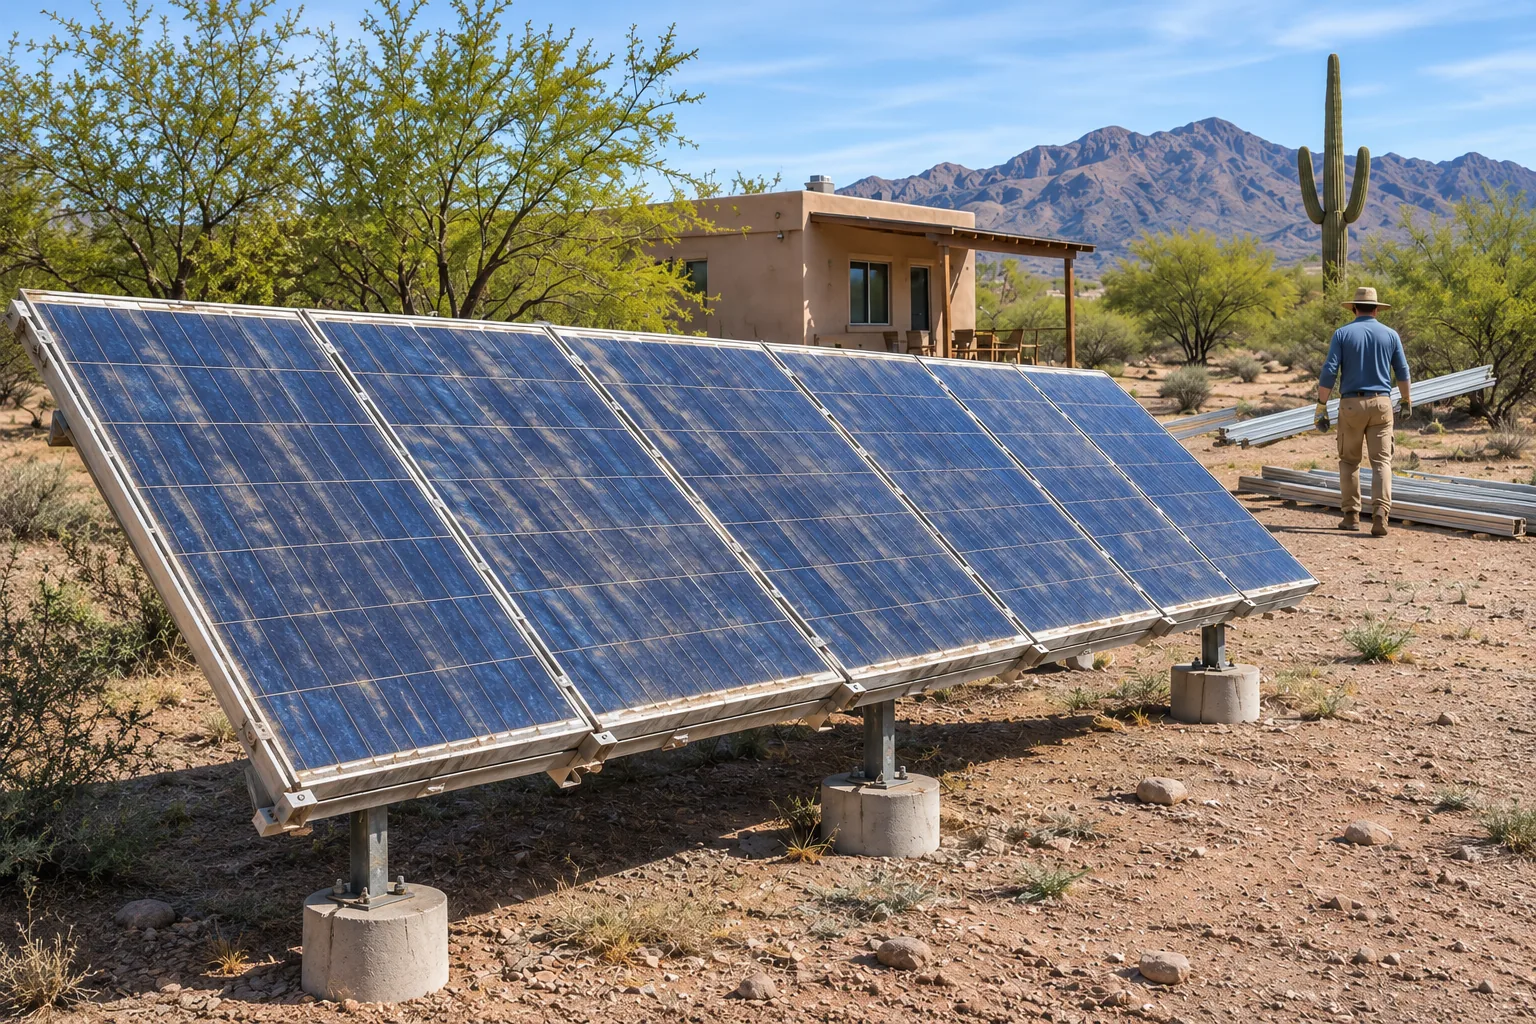
What installation should involve
- Module acceptance. The installer reviews identity, condition, test records and compatibility.
- Site and design review. Check the roof or ground-mount location, structure, shading, layout and electrical requirements.
- Required approvals. Establish the permits, inspections and utility steps that apply to this project.
- Installation and commissioning. Install the accepted design, complete the required checks and receive operating and maintenance instructions.
Request a schedule for the complete process. Equipment sourcing and documentation can affect a used-panel project, so a generic promise of “one to three days” is insufficient.
Questions worth asking before you commit
- Will you install these exact used modules, and what evidence do you need?
- Who pays if modules fail inspection or arrive damaged?
- How does the full price compare with new equipment for the same energy goal?
- Which equipment, installation and roof-related warranties will apply?
- Who handles rejected modules and their transport?
Plan your installer conversation
Have a plan for rejected panels
If modules are unsuitable for reuse, ask a suitable recycler or your local waste authority about handling them. EPA describes both reuse and recycling pathways. EPA solar-panel recycling guidance.